-2.svg "Barista Chaw Su Logo")

Perfect Espresso Shot: The Art of Tamping
Why Espresso Tamping is Non-Negotiable
For the dedicated coffee enjoyer, the aspiring barista, or the discerning cafe owner, the pursuit of the perfect espresso shot is an endless journey. You invest in quality beans, a world-class grinder, and a precise espresso machine. Yet, why do some shots taste sour and weak, while others are bitter and burnt? More often than not, the culprit isn't the bean or the machine—it's the critical, five-second act known as espresso tamping.
Tamping is the process of compressing the loose, fluffy coffee grounds in your portafilter basket into a dense, solid, and perfectly flat "puck." This is arguably the single most important physical preparation step in the entire espresso process. Fail to tamp correctly, and you invite the specter of channeling, where high-pressure water finds the path of least resistance, rushing through weak spots and leaving most of the coffee underextracted. The result is a cup of conflicting flavors—simultaneously sour (from the underextracted parts) and bitter (from the over-extracted parts), ruining your hard-won balance. This comprehensive guide will transform your technique, debunk common myths, and equip you with the knowledge to pull consistently flawless, beautiful shots that truly reflect the quality of your coffee.
The Physics of Puck Resistance
To appreciate the importance of espresso tamping, you must understand the environment inside your portafilter. An espresso machine operates at high pressure—typically 9 bars of force—to push hot water through the coffee grounds. Without a compacted puck, the water would simply blast through the coffee in a matter of seconds, resulting in a thin, pale, and terribly under-extracted shot. The tamp's job is to create a uniform, structural barrier that resists this incredible force. By eliminating air pockets and locking the millions of individual coffee particles together, the tamp forces the water to saturate all the grounds evenly, ensuring maximum extraction of desirable flavors. This necessary resistance is what generates the required 25-30 second extraction time for a classic double shot.
Channeling: The Enemy of a Great Shot
The term "channeling" describes what happens when water finds a weak point—perhaps an air bubble, an unlevel surface, or a crack in the puck—and carves a high-speed path through it. Visually, you'll see a quick, uneven gush of water rather than a slow, steady stream. For cafe owners and baristas, this is a consistency nightmare. One side of the puck might be fully extracted and burnt (bitter), while the other side is barely touched (sour). This uneven extraction leads directly to a muddled, unpleasant taste profile and poor crema quality. Mastering a level, solid tamp is your most effective defense against this flavor imbalance, guaranteeing a rich, syrupy, and perfectly balanced flow every time.
The Essential Pre-Tamp Ritual: Puck Preparation
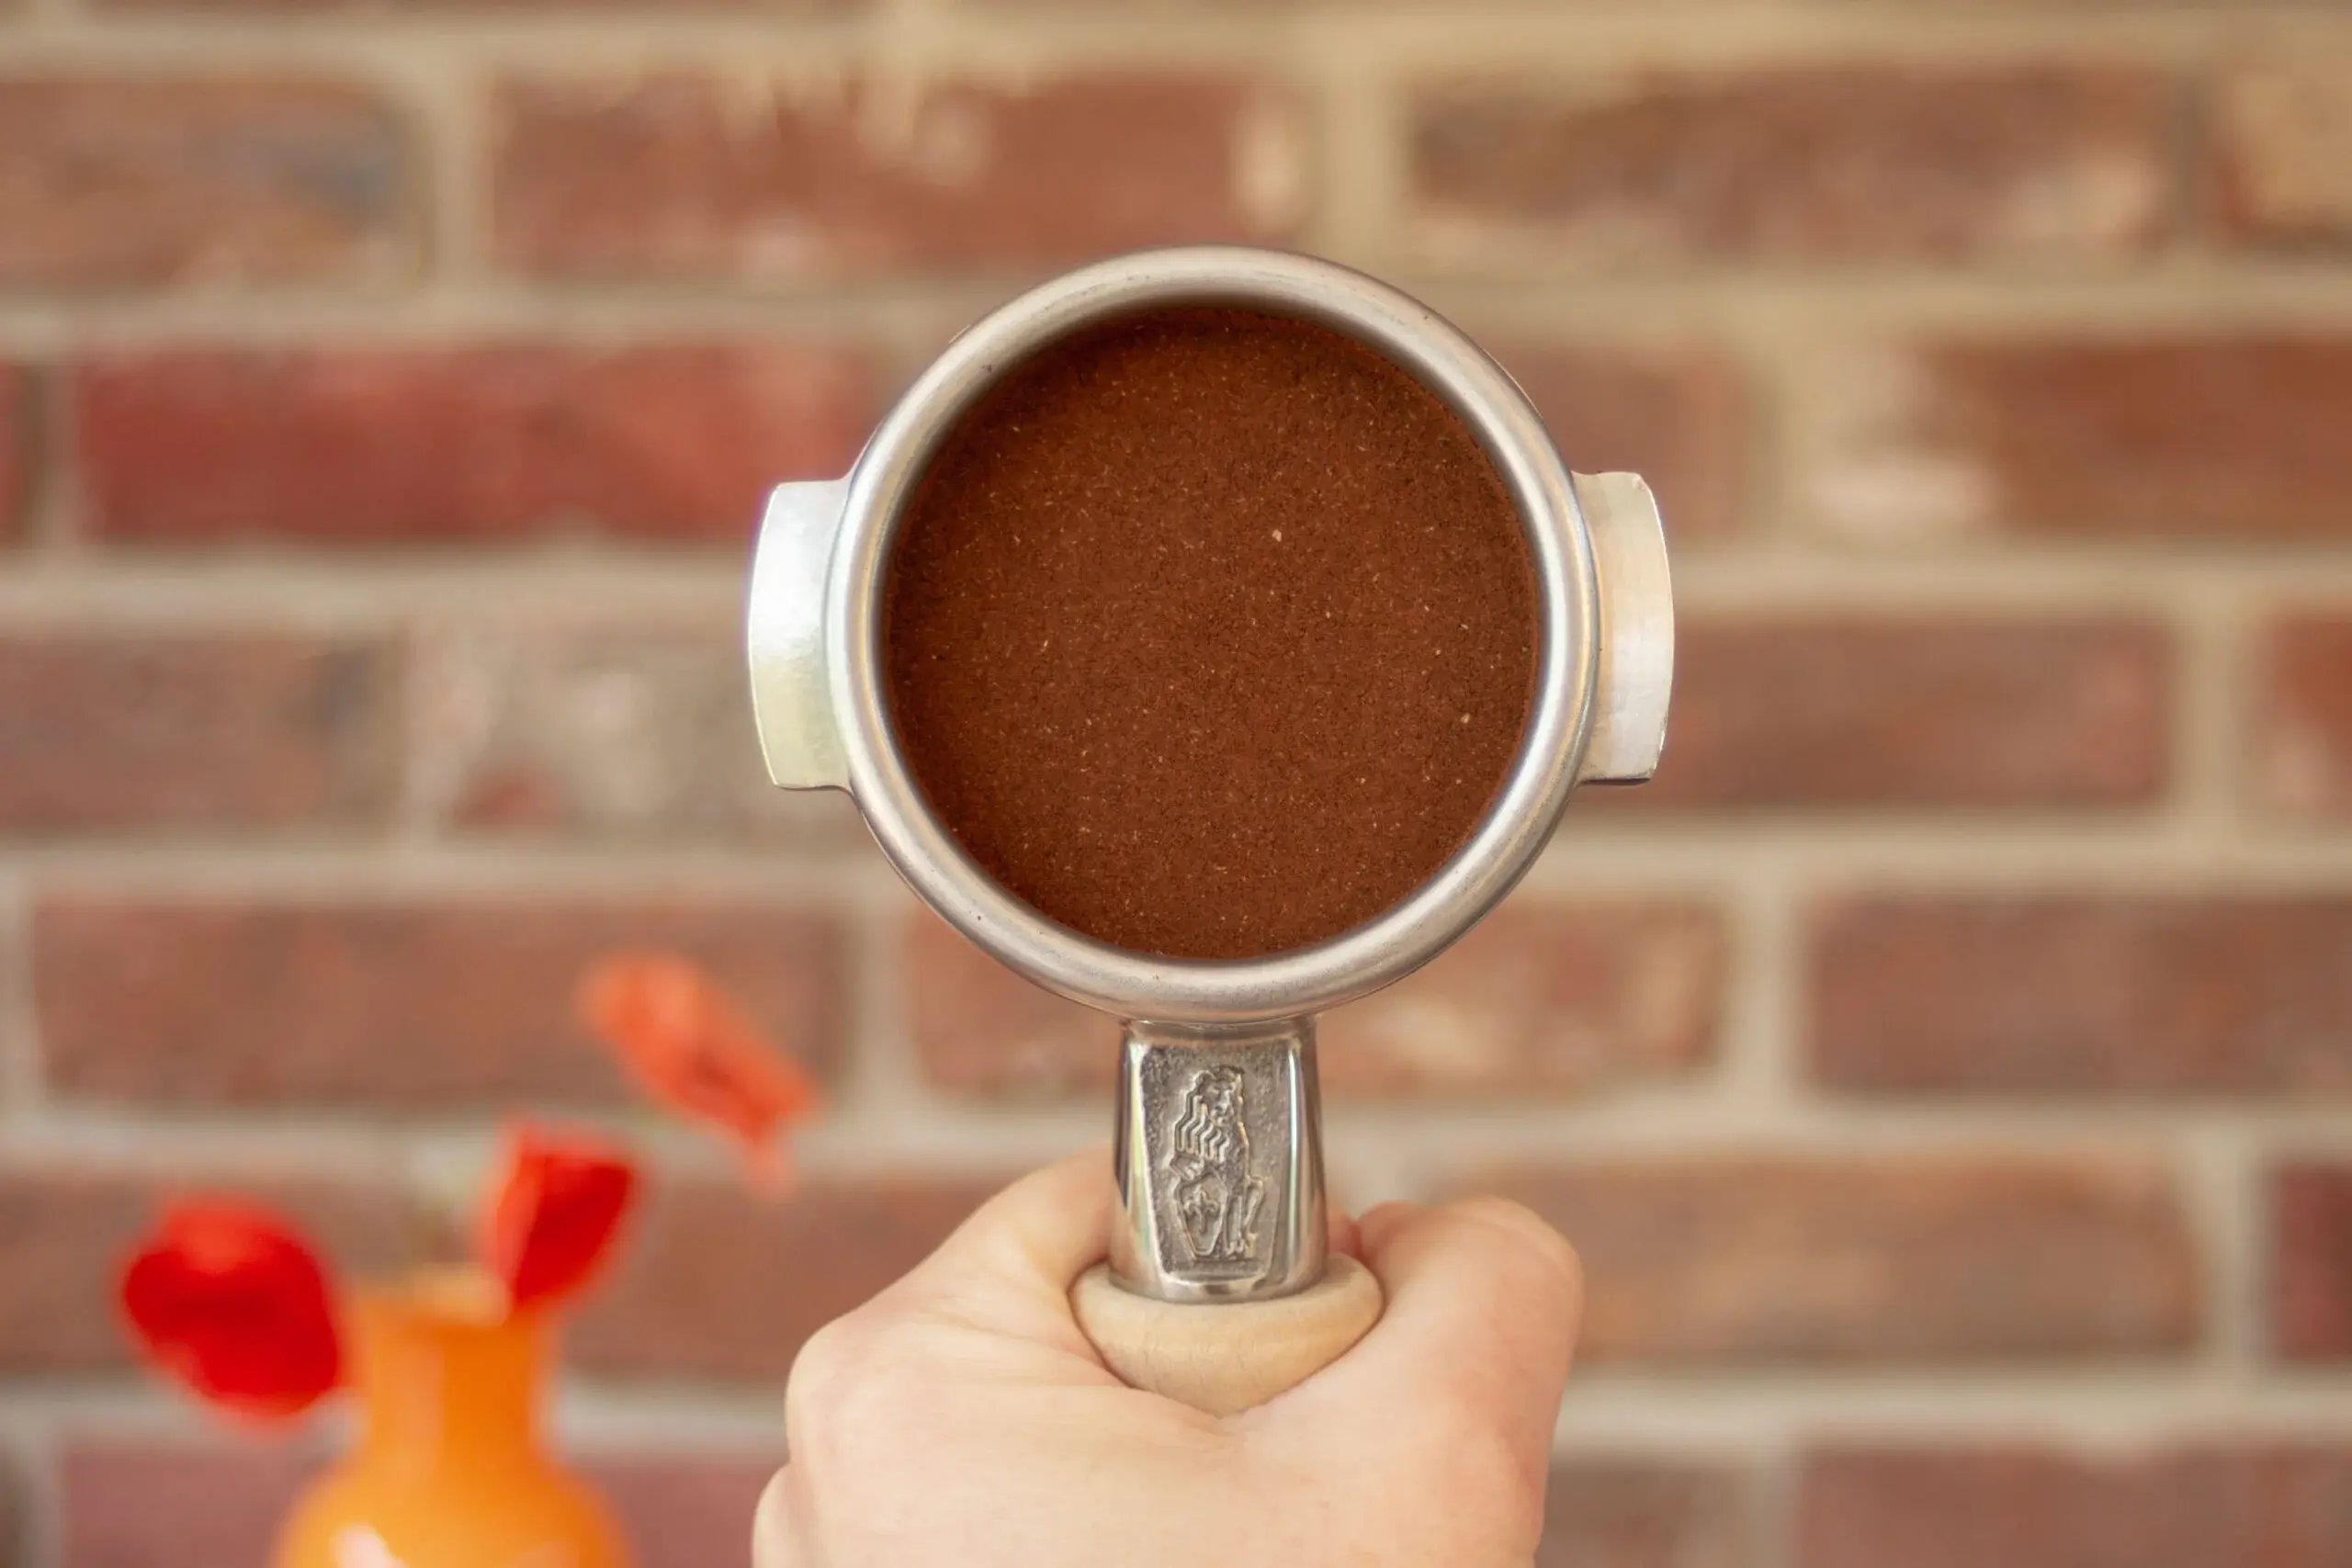
Before you even touch the tamper, the preparation of the grounds—often called puck prep—is what sets the stage for success. Even the most perfectly applied tamp cannot fix a poorly distributed dose. The aim here is to achieve a uniform density before compression, minimizing the risk of internal air pockets that lead to channeling.
Dosing: Weighing for Consistency
Consistency starts with the dose. You cannot achieve a perfect espresso shot if you are guessing at the amount of coffee. For a double shot, the dose typically ranges from 18 to 22 grams, depending on your basket size. Using a digital scale to measure your dose to the nearest tenth of a gram is essential for all serious coffee practitioners, from the coffee enjoyer perfecting their morning routine to the cafe owner standardizing their workflow. Overdosing can lead to the puck touching the group head screen, resulting in a cracked puck and channeling; under-dosing can leave too much headspace, destabilizing the puck during pre-infusion. Once the dose is measured, the grounds are ready for distribution.
The Weiss Distribution Technique (WDT)
The Weiss Distribution Technique (WDT) is the gold standard for modern puck prep. It involves using a fine needle or series of needles to stir and break up clumps within the ground coffee directly in the portafilter basket. Clumping is a natural result of grinding, caused by static electricity and residual oils, and these clumps are guaranteed channeling points if left untouched. By incorporating WDT, you drastically increase the uniformity of the coffee bed's density, creating a homogenous mass that will compress evenly. While it adds a few seconds to the routine, the improvement in flavor and extraction consistency makes WDT a non-negotiable step for achieving truly high-quality results. This practice directly addresses a key challenge for baristas aiming for optimal extraction uniformity.
Leveling the Grounds (NSEW & Stockfleth)
After WDT, the surface of the grounds will likely be quite uneven. While some professionals simply use the weight of the tamper to pre-level, more intentional methods help. The traditional Stockfleth method involves using the edge of the index finger to gently sweep and level the grounds around the portafilter edge. For professional speed, the North-South-East-West (NSEW) method uses quick, light taps on the side of the portafilter to settle the grounds and create a roughly level surface before tamping. The goal of this pre-tamp leveling is simple: ensuring the tamper base meets the coffee bed at a perfectly horizontal plane. If the coffee is already tilted before the tamp, you will inevitably end up with an uneven extraction fix required later on.
Mastering the Art of the Tamp: Technique Over Force
The common wisdom for decades was that the secret to a perfect espresso shot was Herculean strength—a magical 30 pounds of tamping pressure. Modern coffee science, however, tells a different story: the exact pound-force matters far less than the consistency and levelness of the application. This insight is crucial for the modern barista focused on efficiency and repeatability.
The Tamping Pressure Myth: Consistency is King
Let's debunk the tamping pressure myth. The pressure exerted by the espresso machine (9 bars, or about 130 PSI) is significantly greater than any force you can apply with a tamper. The initial tamp achieves maximum compression very quickly—it removes the air gaps, which is the primary goal. Further, excessive force beyond this initial compression is proven to have a negligible effect on extraction time or flow rate. A study by the Swiss coffee organization Kaffeemacher, for example, demonstrated no significant difference in extraction time or TDS (Total Dissolved Solids) when comparing tamping pressures of 10 kg (~22 lbs), 15 kg (~33 lbs), and 20 kg (~44 lbs) (Source 4). The real takeaway? You only need enough force to feel the coffee grounds stop moving—this is the point of full compression. For most people, this is a comfortable, consistent press between 10 to 30 pounds (roughly 5 to 15 kg). The mantra for every coffee enjoyer must be: consistent pressure, level result.
Step-by-Step Level Tamping Technique
Achieving a truly level and compact puck requires a consistent technique that eliminates tilt and lateral movement.
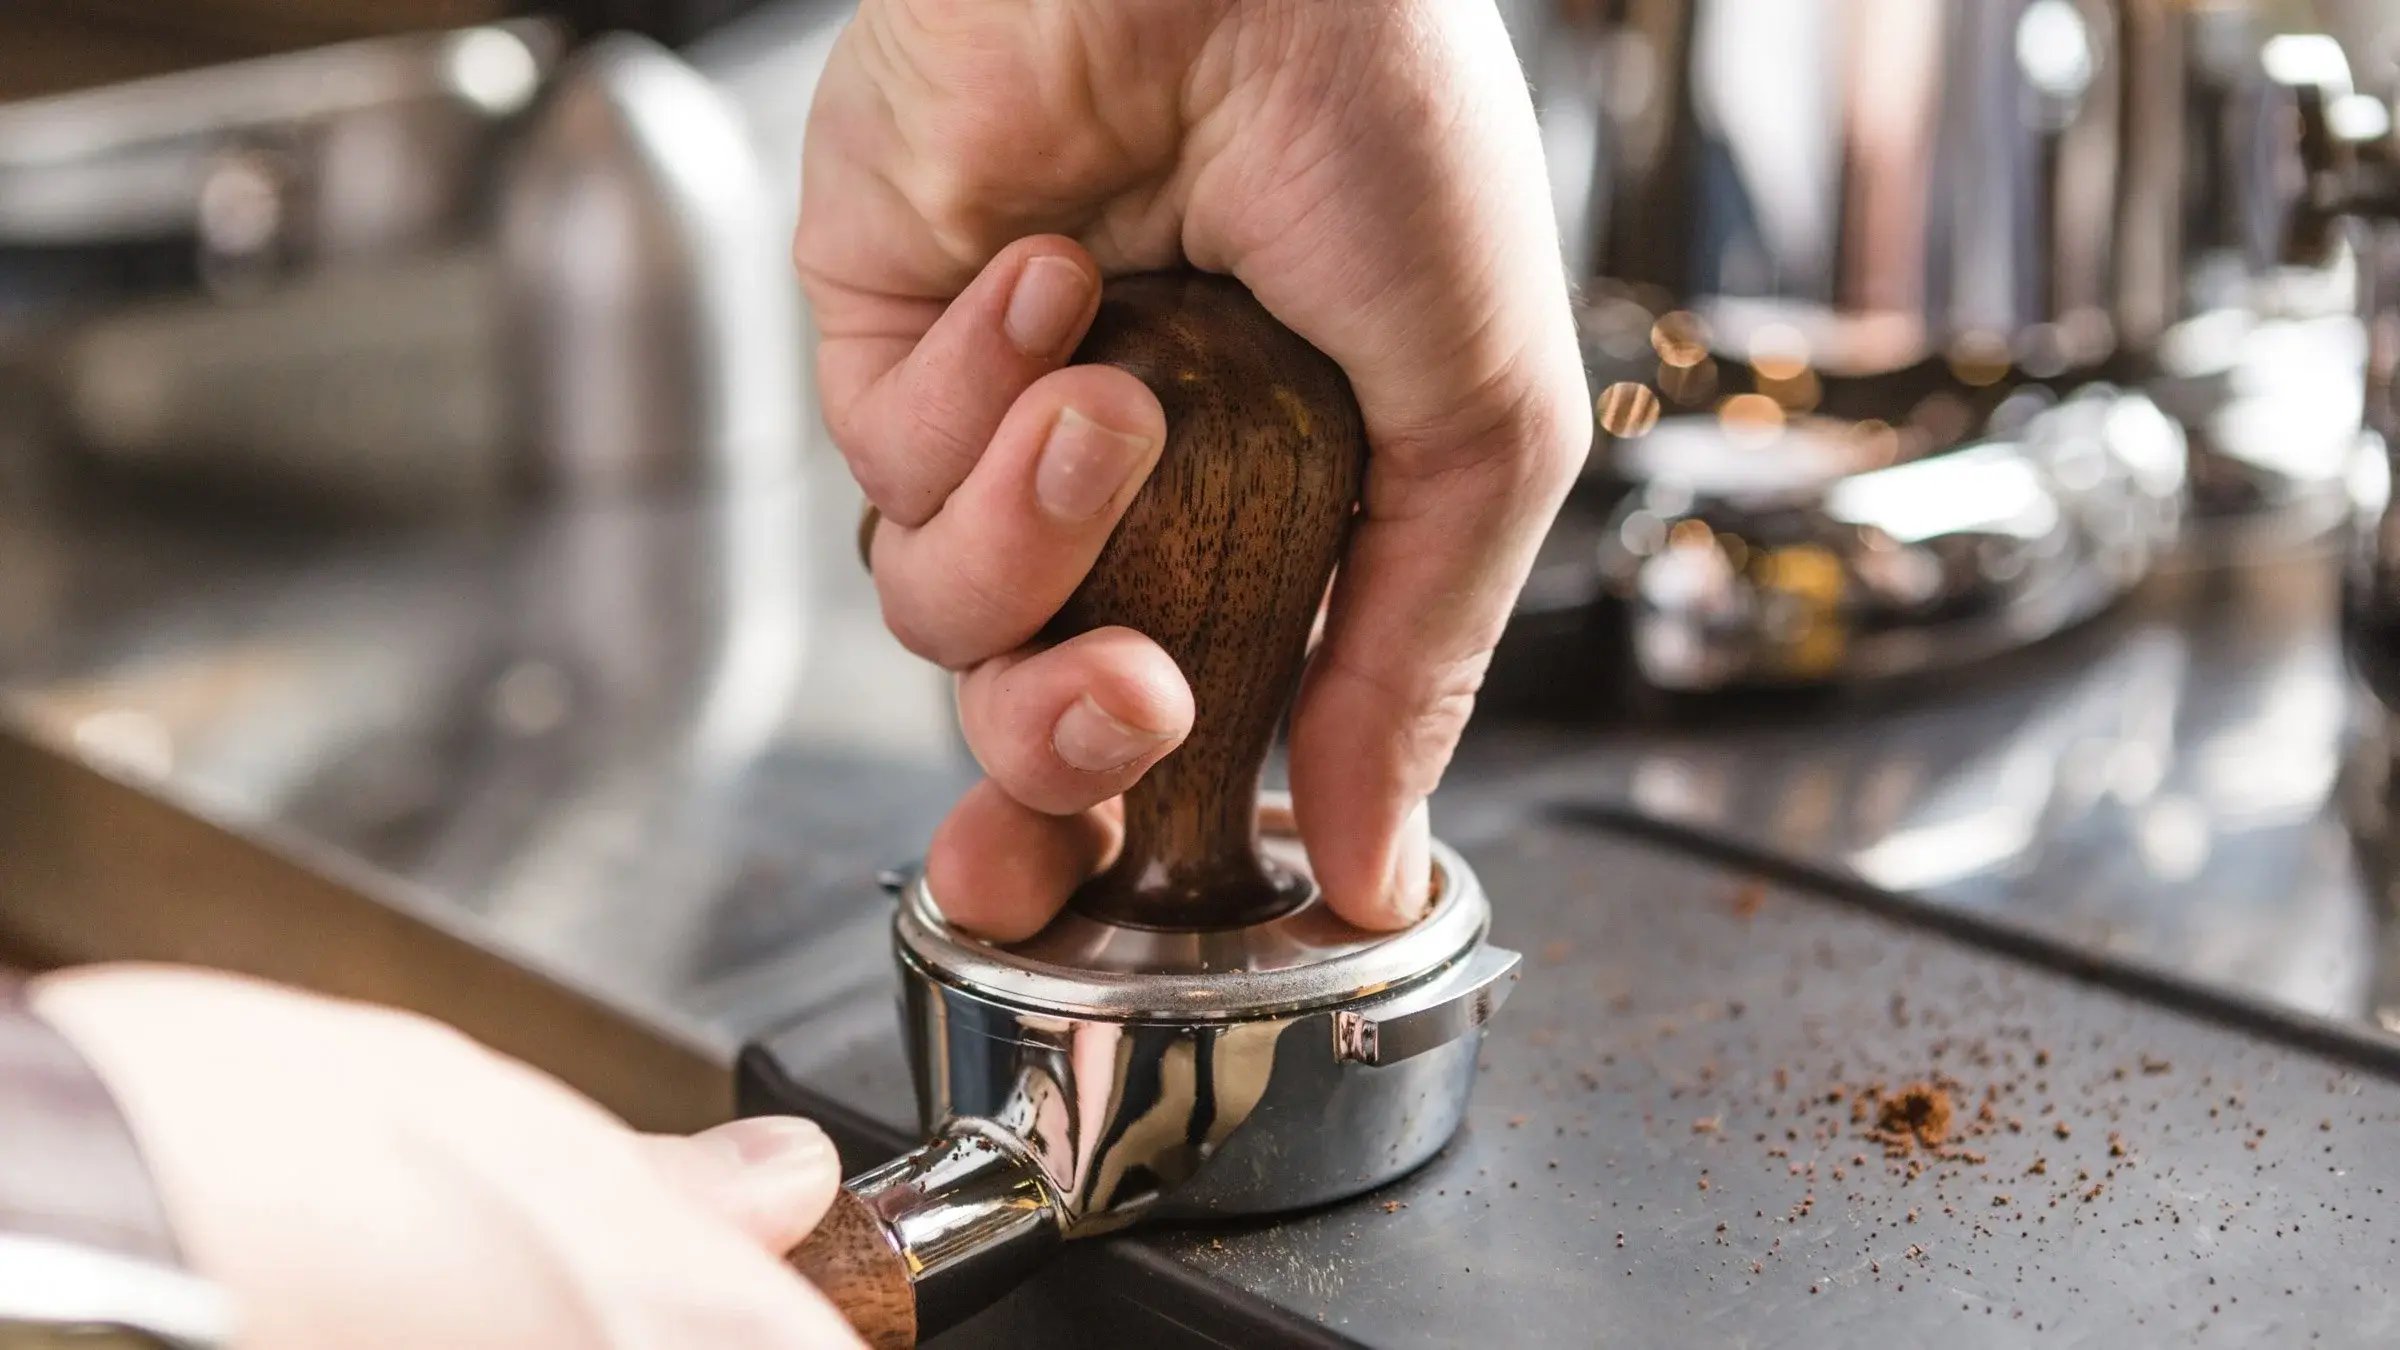
Proper Grip and Stance
For the barista spending hours on their feet, proper body mechanics are essential to prevent repetitive strain injury (RSI). Stand square to the counter. Hold the tamper like a doorknob, with your thumb and index finger resting lightly on the rim of the portafilter basket. This acts as a guide, ensuring your tamper remains perpendicular to the counter surface. Keep your wrist straight, aligning your elbow directly above the tamper. Use your body weight, not just wrist strength, to apply the downward force.
Applying Consistent Pressure
Place the portafilter on a stable, flat surface (a tamping mat is ideal). Center the tamper on the coffee bed. Looking straight down, ensure the tamper face is perfectly parallel with the basket rim. Apply firm, steady downward pressure until you feel a solid resistance, indicating the coffee has reached tamp to full compression. Hold the pressure for a moment (1-2 seconds) to set the puck firmly.
The Gentle 'Polish' Twist
After the primary tamp, some baristas perform a gentle, no-pressure polish twist of about 15-30 degrees. This smooths the surface and helps 'seal' the edges of the puck, removing any stray grounds that might have stuck to the sides of the basket, though modern precision baskets and tampers make this step less crucial. Importantly, this twist must be applied without releasing the downward pressure and then reapplying it, as that can crack the puck and cause channeling. The moment the tamper is lifted, the tamping process is complete.
The Right Tools for the Perfect Espresso Puck
While technique is king, the right equipment can significantly reduce the learning curve and improve the consistency of your perfect espresso shot. Professional baristas and cafe owners understand that investing in quality tamping gear translates directly into repeatable, high-quality output.
Choosing the Correct Tamper Size (58mm vs. 58.5mm)
The diameter of your tamper is far more critical than you might think. Standard commercial baskets are typically 58mm. However, a small gap between the tamper and the basket wall is inevitable, which can leave a ring of uncompressed grounds—a prime target for channeling along the edges (a phenomenon called 'side-wall channeling'). To combat this, many enthusiasts and professionals now use precision tampers, often sized at 58.3mm, 58.4mm, or even 58.5mm, especially when using VST or IMS precision baskets. These slightly oversized tampers fit the basket more snugly, ensuring compression right up to the wall. This small adjustment is a major difference-maker for ensuring an even extraction fix from the start, minimizing the path of least resistance at the basket edge.
Calibrated and Self-Leveling Tampers
For the coffee enjoyer seeking instant consistency or the cafe owner training new staff, specialized tools are invaluable.
-
Calibrated Tampers: These spring-loaded devices are designed to "click" or release only when a set pressure (e.g., 30 lbs or 15 kg) is reached. They eliminate the guesswork of the how hard to tamp espresso question, ensuring that every barista applies the same baseline force. While modern science suggests the exact pressure is not the main variable, a calibrated tamper guarantees consistency across different staff members or even between your morning and evening shots.
-
Self-Leveling Tampers: Perhaps the most revolutionary innovation, these tampers feature a collar or spring mechanism that rests on the rim of the portafilter basket, physically preventing the tamper base from tilting. They force a perfectly perpendicular tamp every single time. As one of the most common tamping mistakes is an uneven angle, a self-leveling tamper is an exceptional tool for immediately achieving a level tamping technique and effectively fighting channeling, offering a high-tech solution to an old problem.
The Role of a Tamping Mat or Station
A sturdy surface is non-negotiable. Using a rubber tamping mat protects your expensive countertop surfaces from scratches and provides a non-slip, level base, which is crucial for achieving a straight tamp. For baristas in a fast-paced environment, a dedicated tamping station or cradle holds the portafilter securely, often at a slight angle that is more ergonomic. These simple accessories improve stability, reduce spillage, and significantly contribute to a repeatable and professional workflow. The use of a mat also allows you to comfortably apply the body weight required for the firm, consistent press, without worrying about your portafilter slipping.
Troubleshooting Your Shot: Common Tamping Mistakes
Even with the best tools, small errors in technique can derail the process. Understanding and eliminating these common tamping mistakes is the final step toward mastery and consistent, reliable extraction.
The Danger of Tapping the Portafilter
A habit many new baristas pick up is tapping the side of the portafilter with the tamper handle (or palm) after the grounds have been tamped. The intention is often to knock down stray grounds sticking to the side of the basket. However, this action is a guaranteed way to cause trouble. A sharp tap can crack the coffee puck internally or, worse, create micro-gaps between the dense coffee puck and the metal wall of the portafilter. This breaks the careful seal you just created, instantly inviting water to rush down the side—a severe form of channeling. Once you have tamped, the puck should be treated as a completed, fragile structure. Instead of tapping, simply use a dry finger or a clean cloth to wipe any loose grounds off the rim before locking it into the machine. If you find too many grounds sticking to the side, consider using a distribution tool like the WDT tool and tamping more cleanly, or purchasing a better-fitting tamper (58.5mm) that compresses the grounds right to the edge.
Uneven Tamp, Uneven Extraction
The biggest enemy of a perfect espresso shot is an angled, or uneven tamp. If the coffee bed is not perfectly horizontal, the high-pressure water will naturally flow through the shallower side, where the coffee is less compressed. This results in the coffee on that side being severely over-extracted and bitter, while the deeper, denser side is left under-extracted and sour. The final shot is a blend of bad flavors. This is often caused by relying on wrist strength or failing to use the portafilter rim as a level guide. The fix is developing muscle memory for a straight wrist, using a tamping mat, and investing in a self-leveling tamper if the problem persists. Remember: the consistency of your technique is the best uneven extraction fix available.
When to Adjust Grind, Not Tamp
A common misapplication of tamping is using pressure to compensate for an incorrect grind size. If your shot is pulling too fast (say, 15 seconds), a beginner might try to solve this by tamping much harder. Conversely, if the shot is too slow (45 seconds), they might try tamping lighter. As discussed under the tamping pressure myth, applying more pressure has a minimal effect on flow rate once the air gaps are removed. The major variable controlling flow rate is the grind size. If your shot is too fast, your grind is too coarse; adjust it finer. If your shot is too slow, your grind is too fine; adjust it coarser. Your tamping pressure should remain constant—firm, level, and consistent—between 15-30 lbs. The purpose of the tamp is to create a predictable and stable environment; the purpose of the grinder is to control the resistance. Always keep your tamping technique constant and make all flow rate adjustments solely via the grinder setting to achieve the ideal espresso extraction time (25-30 seconds).
Quick Takeaways for the Coffee Professional
Mastering espresso tamping is a game-changer for consistency and quality, whether you're a home coffee enjoyer or a dedicated cafe owner.
-
Consistency Trumps Pressure: Focus on applying the same, comfortable pressure (10-30 lbs) for every shot. The exact number is less important than its repeatability.
-
WDT is Non-Negotiable Prep: Use the Weiss Distribution Technique to break up clumps and ensure a homogenous coffee bed before tamping, eliminating internal air gaps.
-
Levelness Prevents Channeling: Always keep your wrist straight and the tamper perfectly level. Use a tamping mat or a self-leveling tamper to guarantee a flat surface.
-
Tamper Size Matters: Invest in a precision tamper (e.g., 58.5mm) that fits your basket snugly to prevent uncompressed coffee grounds at the edges.
-
Avoid Post-Tamp Tapping: Do not tap the portafilter side after tamping. This action creates micro-cracks or gaps along the wall, leading to immediate channeling.
-
Adjust Grind, Not Tamp: If your shot is too fast or too slow, change your grinder setting, not your tamping pressure. Keep the tamp consistent to remove variables.
-
Inspect the Puck: After brewing, check the used puck. It should be solid, intact, and free of holes or deep impressions, which are signs of an uneven extraction fix needed in your technique.
Conclusion: Elevate Your Espresso Game
You now hold the secrets of true espresso tamping mastery. By understanding the physics of puck resistance and committing to a rigorous pre-tamp ritual, you have taken the single most important step in elevating your craft. The journey to the perfect espresso shot is defined by consistency, precision, and the relentless pursuit of eliminating variables. For the cafe owner or barista, this mastery translates to less waste, faster workflow correction, and a consistently superior product that keeps customers coming back. For the dedicated coffee enjoyer, it transforms a morning routine into an act of precision and enjoyment.
Forget the myth of brute strength; embrace the power of levelness and consistency. The difference between a good shot and a great shot is often just a millimeter of tilt or a single air pocket. Take these techniques, practice them until they become second nature, and stop letting poor tamping sabotage your high-quality beans.
Ready to test your new skills? Pull a shot right now using your new, level technique and pay close attention to the flow. We guarantee you'll taste the difference immediately. Share your results with us and let us know: What's the one tamping mistake you've finally managed to correct?
Are you struggling with inconsistent shots or visible channeling? Barista Chaw Su is here to help you master the physical ergonomics and precision required for the perfect tamp. Explore our [Professional Training Services] to get hands-on coaching on your espresso preparation.
Frequently Asked Questions
Q1: What is the ideal espresso tamping pressure, and is it really 30 pounds? A: The consensus among modern professionals is that a range of 15 to 30 pounds of tamping pressure is sufficient, but consistency is far more critical than the specific number. Apply enough force (around 10-15kg) until the coffee grounds stop compressing, ensuring you have reached tamp to full compression. If you are inconsistent, water will find weak spots and cause channeling.
Q2: What is a WDT tool, and do I really need it for a perfect espresso shot? A: The WDT tool and tamping go hand-in-hand. WDT (Weiss Distribution Technique) uses fine needles to stir the grounds before tamping. It is highly recommended because it breaks up clumps and eliminates air pockets caused by grinding, making the coffee bed uniformly dense. This is the best preventative measure against channeling and guarantees a more even extraction.
Q3: What causes espresso channeling, and how does a level tamp prevent it? A: Channeling is caused by pressurized water finding the path of least resistance through the coffee puck. This path could be a clump, an air pocket, or a crack. An uneven tamp, uneven extraction results, as water rushes through the shallower side. A perfectly level tamping technique creates a uniform density and resistance across the entire puck surface, forcing the water to extract all grounds evenly.
Q4: Should I ever retamp my espresso if I see loose grounds after the first press? A: No. You should never re-tamp. Retamping over an already compressed puck creates distinct, different layers of density, which is a major cause of channeling. Instead, if you must clear loose grounds from the rim, wipe them away gently with a finger or cloth. If the puck is noticeably uneven after the first press, discard it and start over with proper puck prep to avoid a major tamping mistakes to avoid scenario.
Q5: What is the best way to practice tamping pressure for a home coffee enjoyer? A: A great way to feel the required force is to practice tamping on a bathroom scale or a kitchen scale that measures in kilograms (10-15kg) or pounds (25-35 lbs). Once you know what that weight feels like, use your body's muscle memory to reproduce that feeling consistently without the scale. This helps you overcome the tamping pressure myth by focusing on consistent feel rather than constant measurement.
References
The content of this guide is based on established best practices from the specialty coffee community, professional barista training resources, and recent scientific studies on espresso mechanics.
-
Seven Miles Coffee Roasters. "Tamping Coffee: does it even matter?" (Source 3.5). Analysis supporting the idea that levelness is more critical than brute force pressure and the minor impact of tamping on flow rate compared to grind size.
-
Kaffeemacher. "What influence does tamping pressure have on the espresso?" (Source 2.4). Research comparing extraction time and TDS across 10 kg, 15 kg, and 20 kg tamping pressures, indicating consistency is key.
-
Perfect Daily Grind. "Why are distribution and tamping so important for quality espresso?" (Source 3.6). Expert perspective on the importance of puck prep (like WDT) and the consensus on 30lbs being an adequate, but not magical, force.
-
James Hoffmann. The World Atlas of Coffee, 2nd Edition. (Content from uploaded files). General guidance confirming the need to tamp the coffee flat, keep the wrist straight, and ensure the coffee bed is even. (Referenced from
pdfcoffee.com_the-world-atlas-of-coffee-pdf-free.pdf, page 154/155).
-5.svg "BA (600 x 450 px)-5")
Leave your thought here